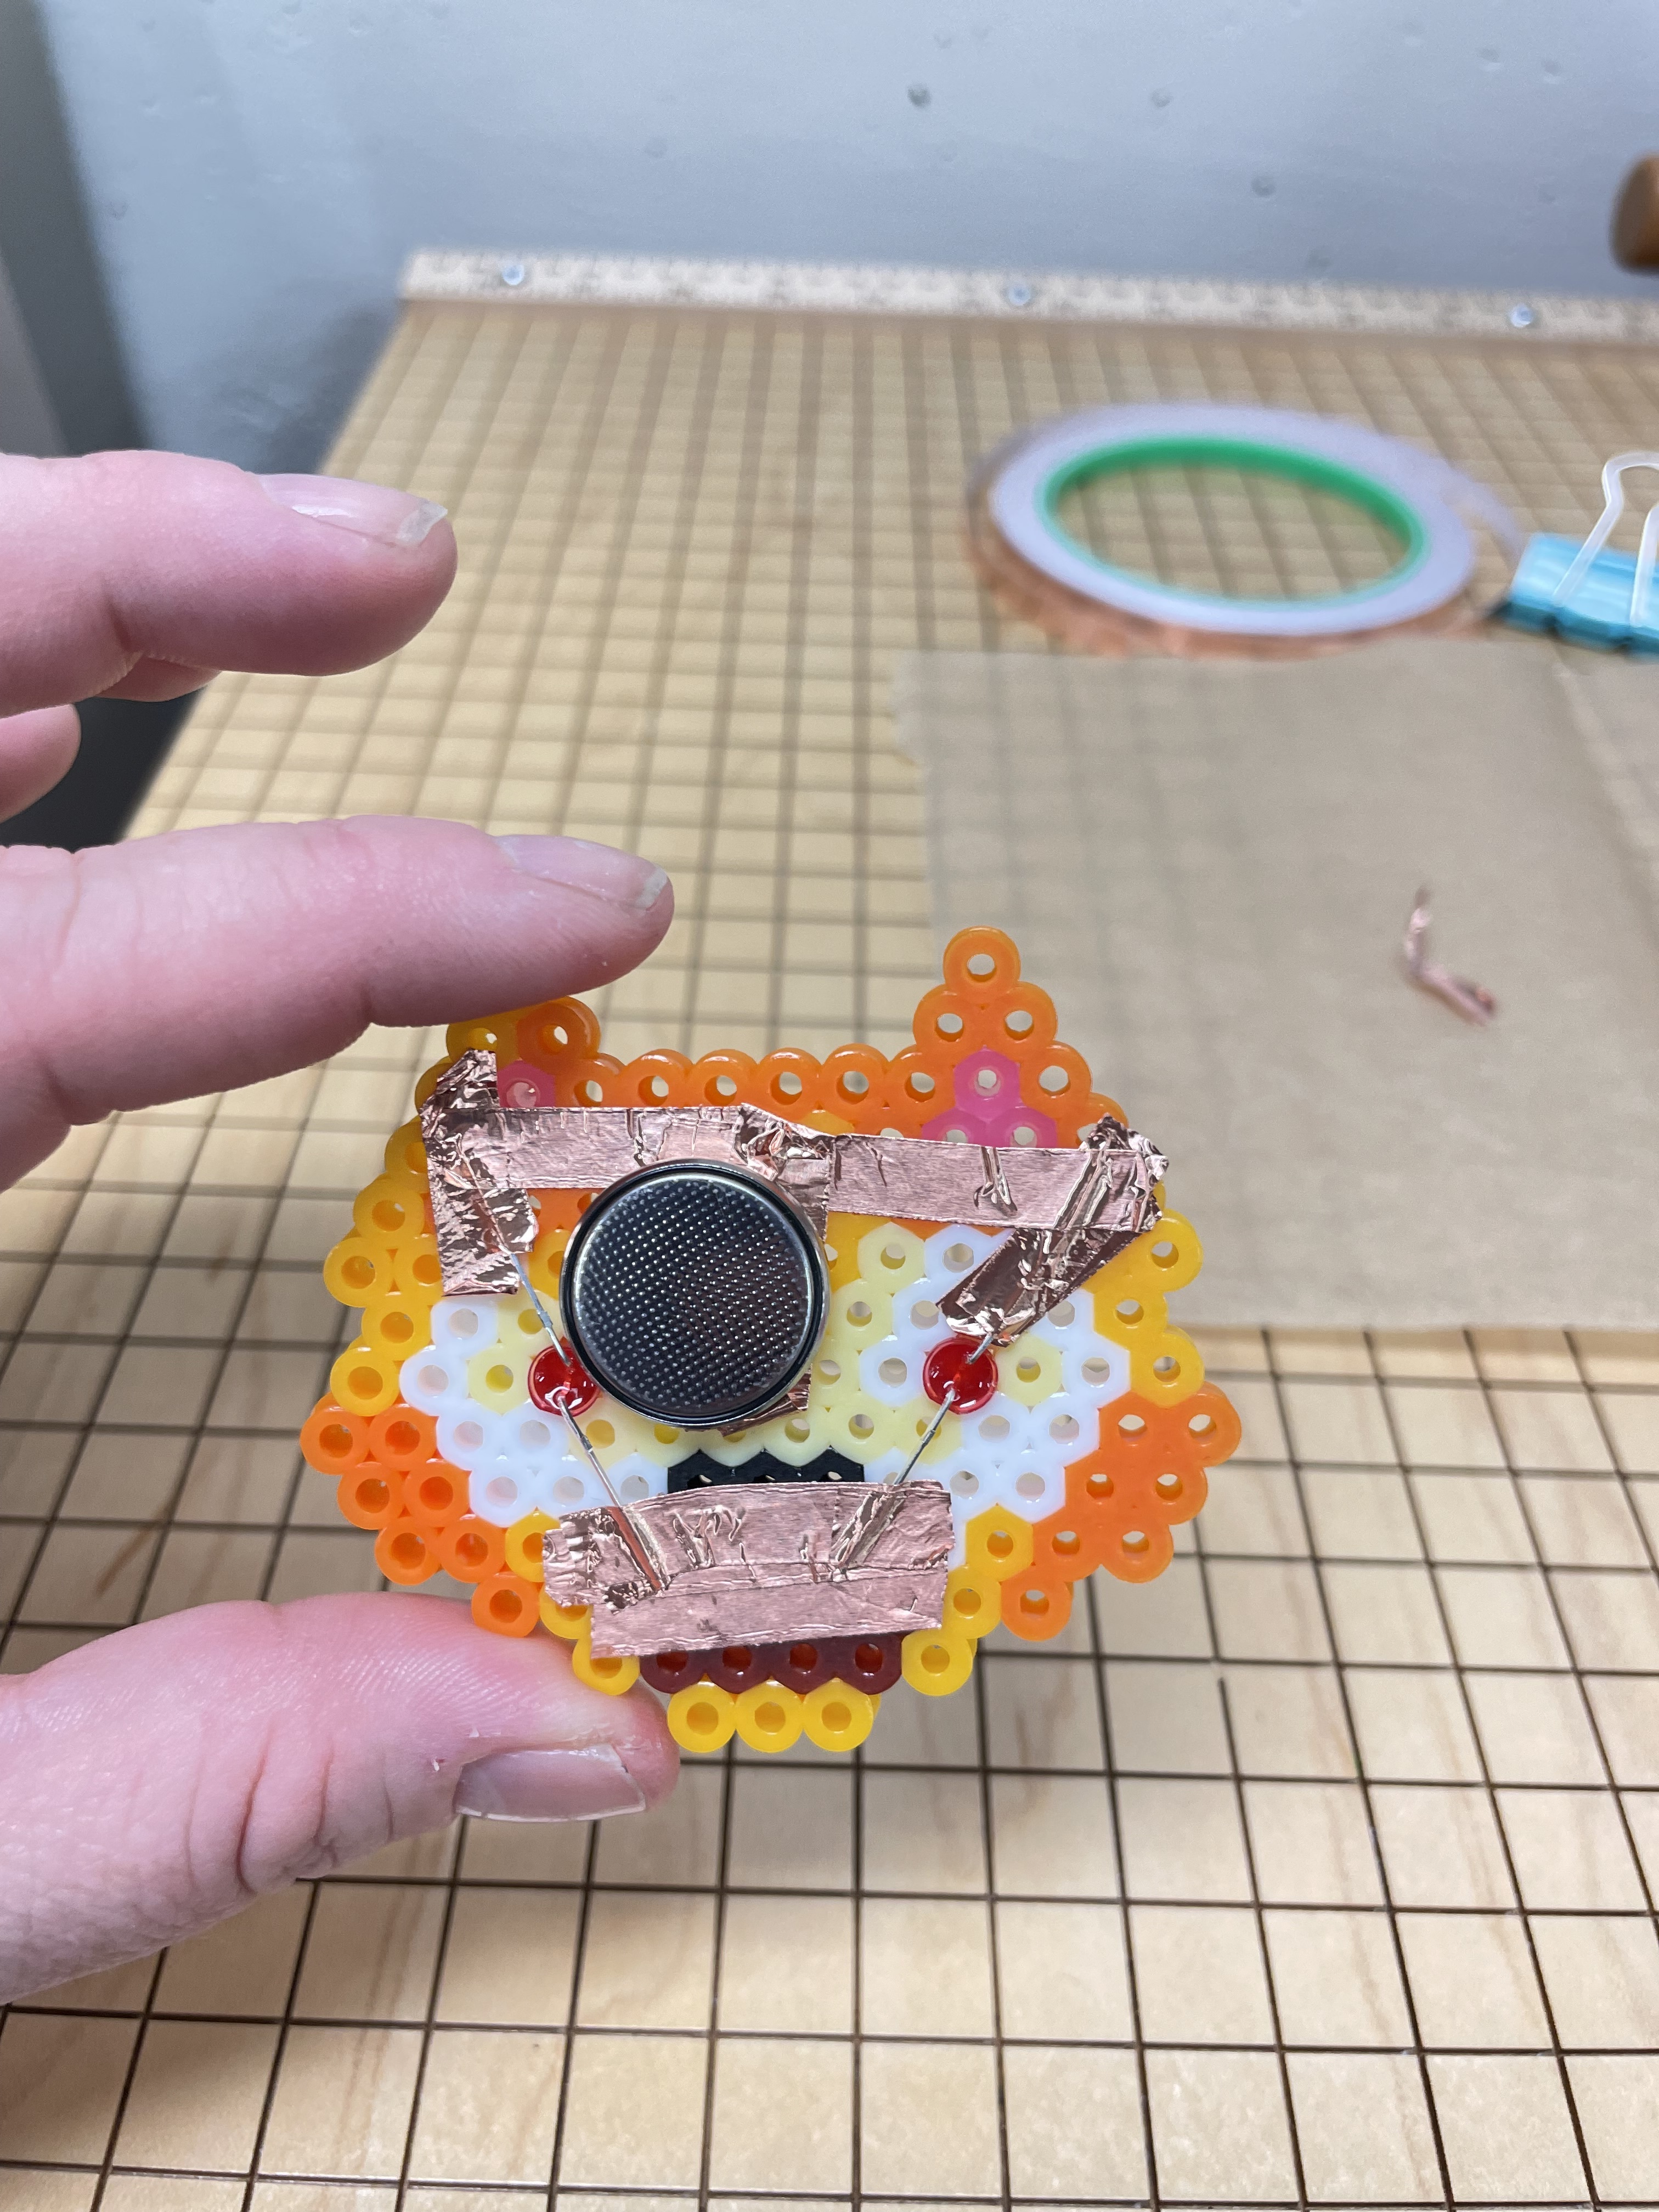
It was posed in the ambassador forum if fusebeads and paper circuits would work … this is my response and experiment.
I think if you don’t over melt the beads the LED tines should fit through the melted bead …or you can plan for your design to have missing beads so that you will have space for your LED. My brain liked both of those ideas and I experimented with my volunteer, both methods I mentioned above work…the fox had the beads for the eyes removed before pressing and the LEDs fit perfectly… looks much cleaner.The backside of the fox is giving Hannibal Lector, I think tweens and teens would enjoy the added LEDs to fusebeads. Keep designs small took about 45-60 mins altogether.


10 Likes
This is an AMAZING idea! We are going to try this in April. thinking we could add a pin backing.
Thanks for posting!!!
oh wow this is extremely cool!
Yeeees. I am definitely going to make some of these to show off and have a program specifically for it in February. Now I need a catchy title.
1 Like
This is such a fun idea! I love that the types of items to which circuits can be added is endless!

It looks awesome!!!
1 Like
Here are the images for the Perler Beads Electrified program I did. I tried to advertise it by having patrons passively boop my raccoon’s snoot.


2 Likes
Hello!
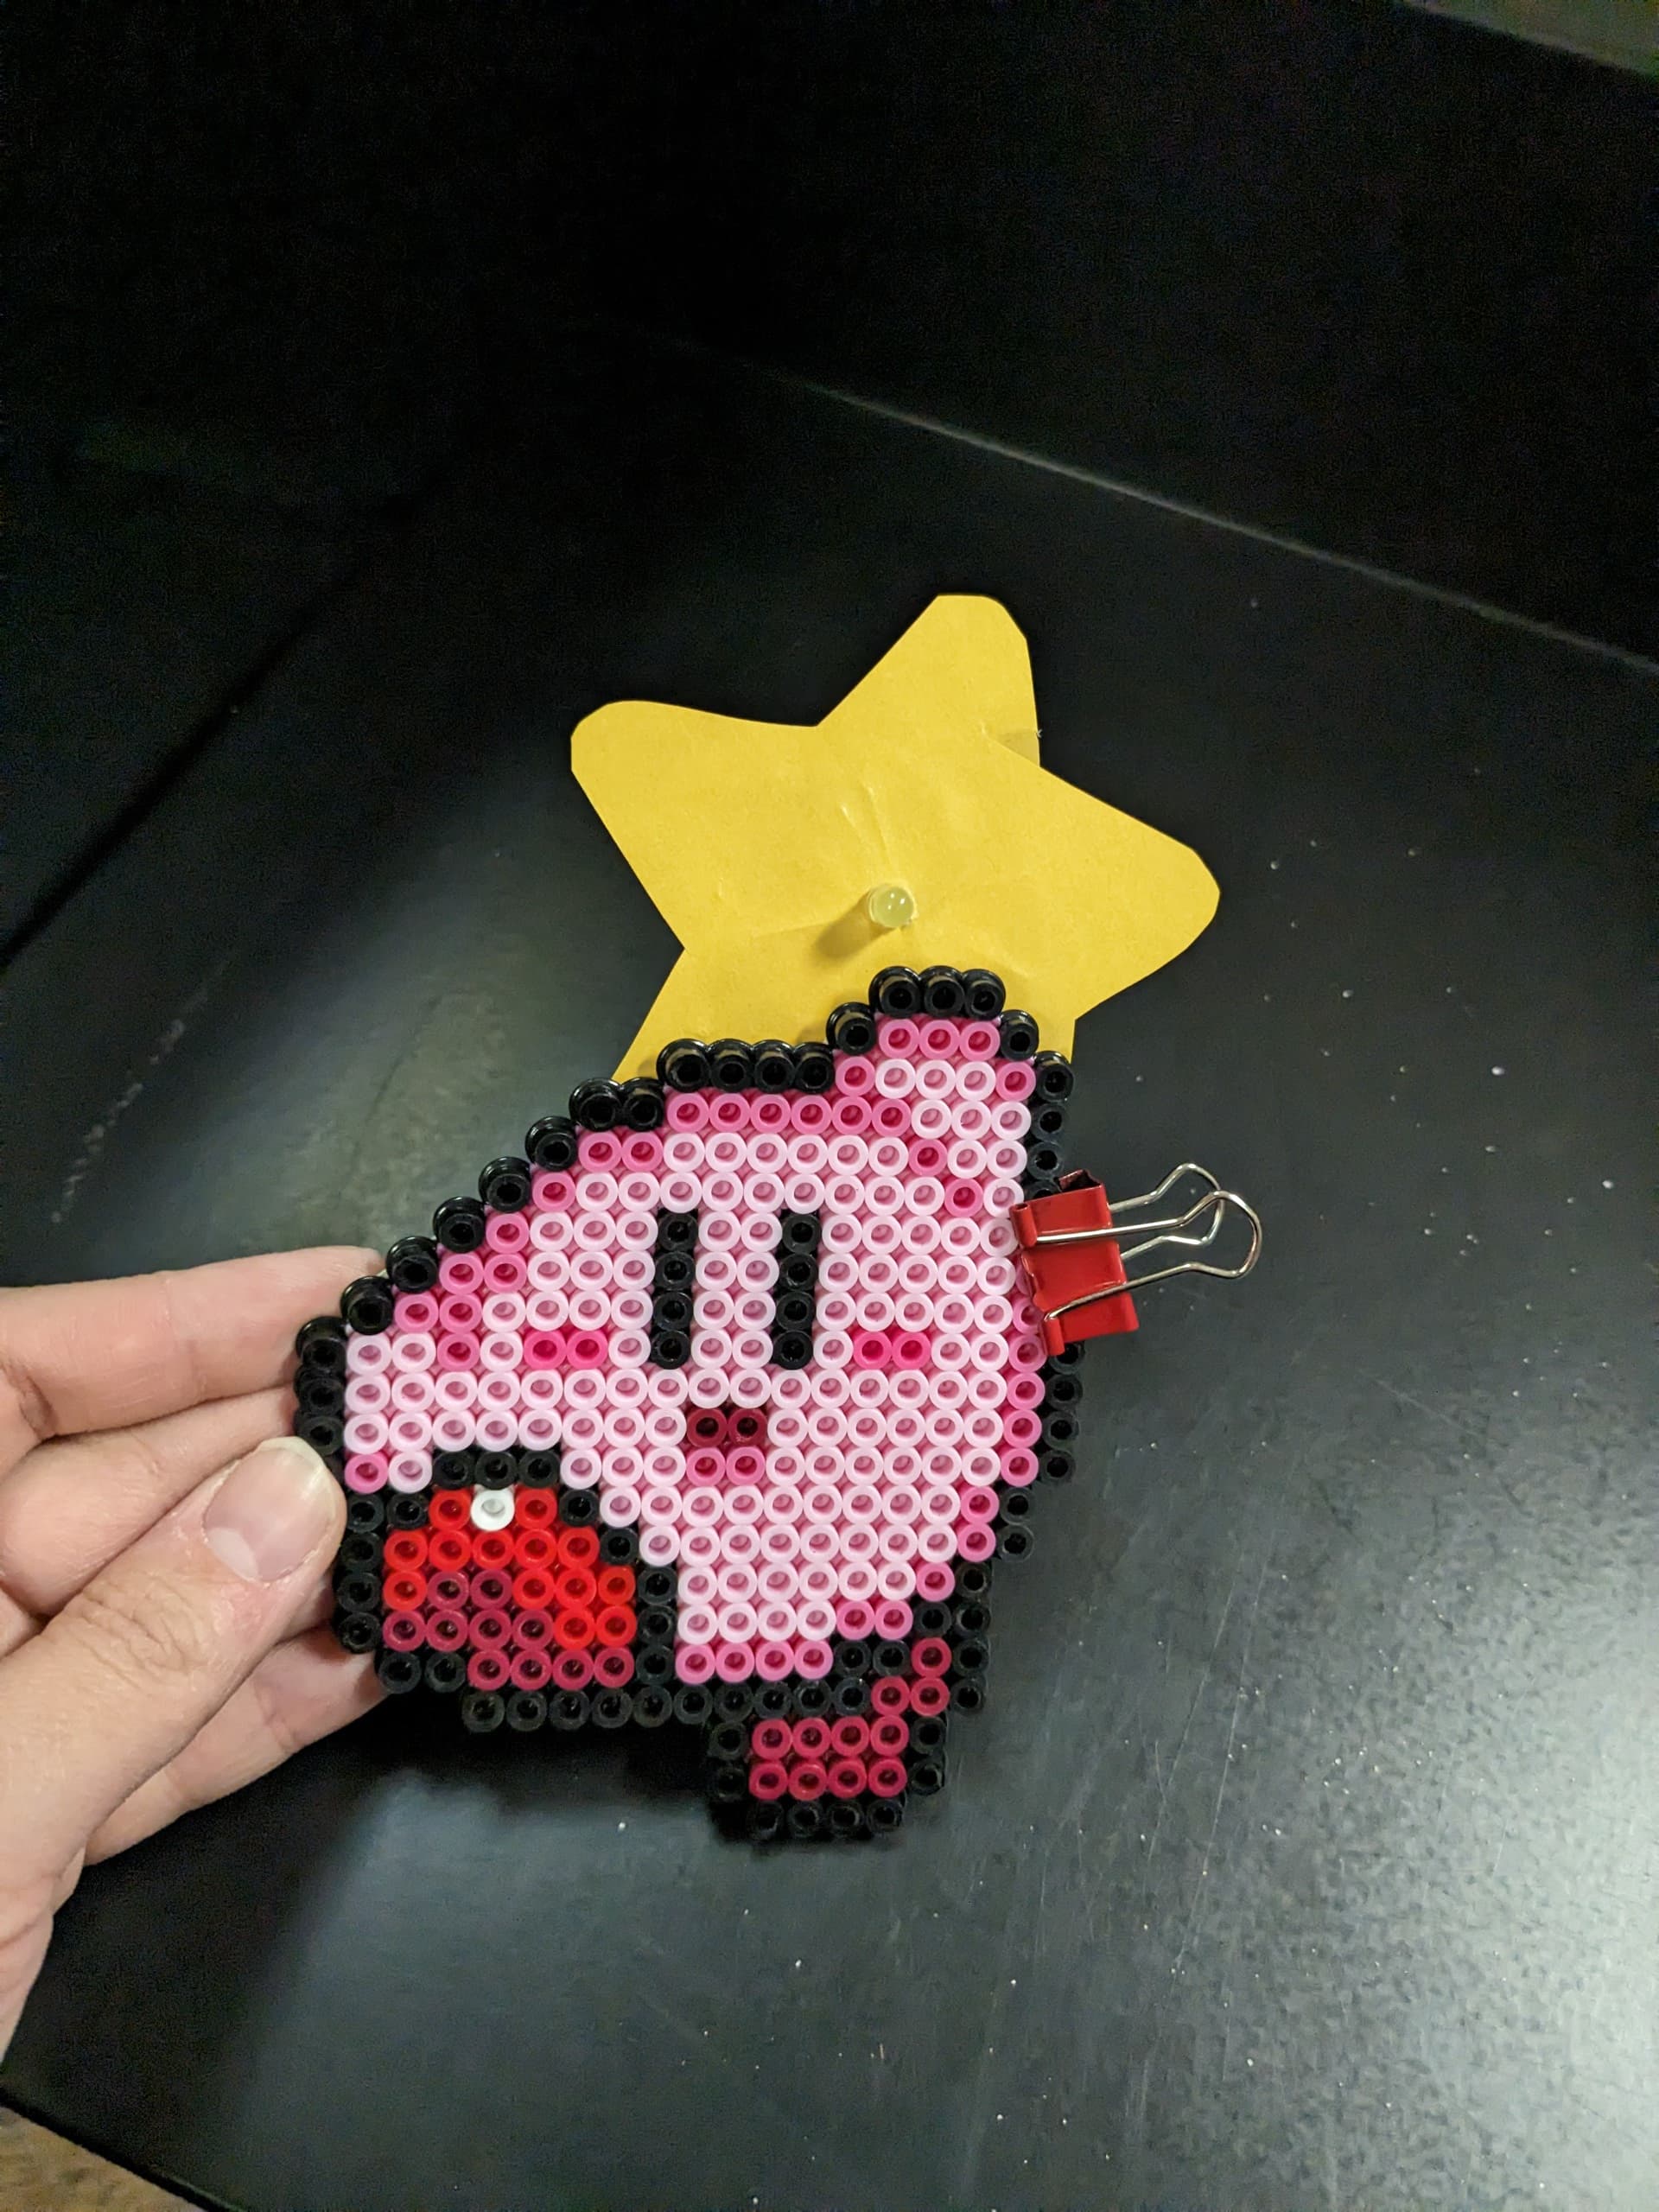
It’s been awhile but I finally did Fuse Bead Paper Circuits as a program! All of my patrons enjoyed it, I asked the parents to not touch the tools (and I did my best to do the same ![]() ). It worked out super great! Parents were helping other parents, parents were helping kids, and kids were helping kids by showing what they did and walking through the process instead of just doing it for the other person!
). It worked out super great! Parents were helping other parents, parents were helping kids, and kids were helping kids by showing what they did and walking through the process instead of just doing it for the other person!
Enjoys some of the projects they did!


1 Like
Thanks for sharing Doria!
I noticed that one of them has 4(!) LEDs. I’m really curious…what does the back look like? What it challenging to make?
Unfortunately I didn’t take a shot of the back… but yes, it definitely was interesting to get it going since the design was very narrow. We placed the lights in parallel but the batteries in series in order for there to be enough power for all 4 LEDs. I have doodled a diagram…hope it helps.


1 Like
Thanks for sharing these schematics! That’s really helpful to see how the circuitry works with so little space.